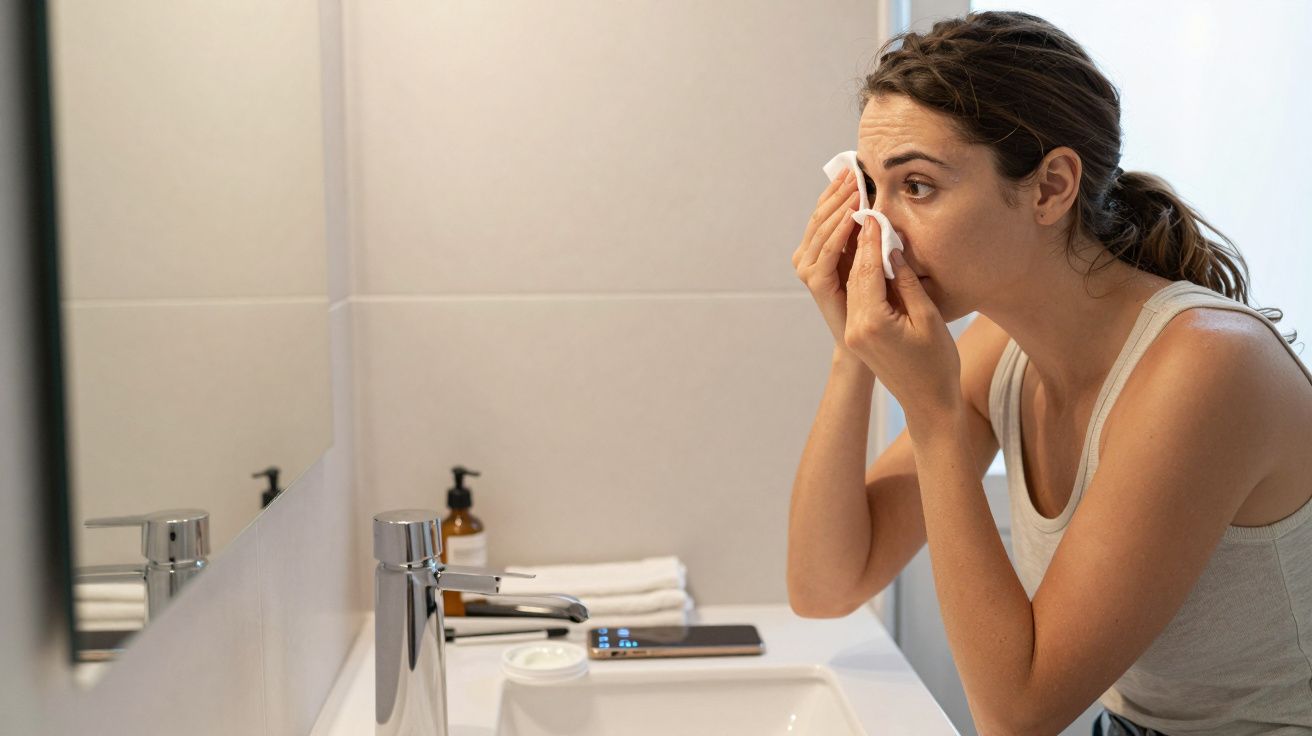
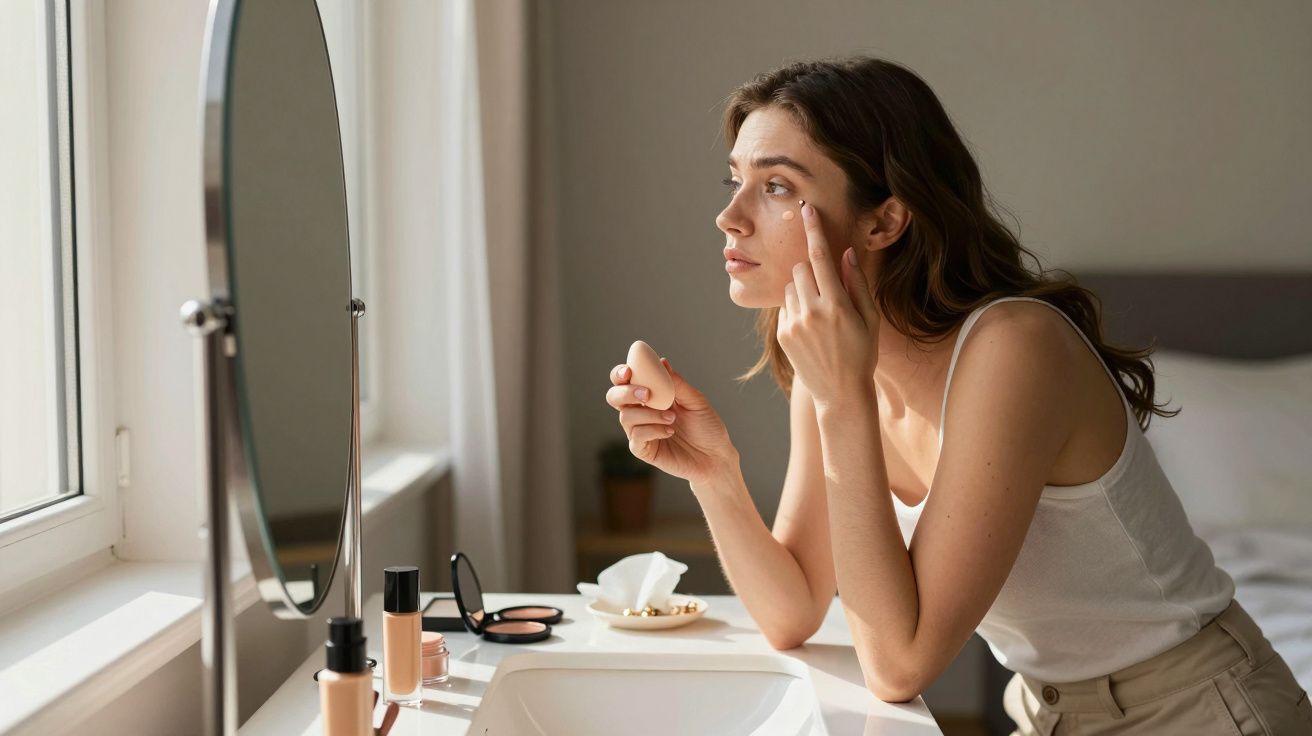
You do the careful bit in the bathroom: cleanse, protect the skin, mix the dye, apply the eyebrow tint with a steady hand. Then the processing time creeps on while you scroll, answer a message, or “just finish this one thing”, and you rinse thinking you’ve only overrun it by a minute. By morning, the colour has oxidised into something flatter, darker, and oddly harsher than you meant.
It’s maddening because it doesn’t always look wrong straight away. In the mirror right after you wipe it off, it can seem fine - even a touch light - and that’s exactly why the timing mistake keeps catching people out.
The tiny timing slip that turns into a dark overnight surprise
Most at-home brow tints deepen after the fact. Not because your brows are playing tricks on you, but because tint molecules continue to settle and oxidise, and the skin stain (if you’ve caught the skin as well as the hair) can read darker once the area has calmed down and dried.
The mistake is simple: treating processing time like a suggestion rather than a stop point. People apply tint, wait until it “looks about right”, then add a bit more time for good measure - especially if one brow tail looks sparse, or the inner corner seems reluctant to grab colour.
That extra buffer minute is rarely a buffer. It’s the difference between “soft definition” and “I’ve accidentally chosen villain brows”.
Why it gets darker later (even if it looked fine at the sink)
Brow tint results are a mix of two things: colour on hair and a temporary stain on the skin. Hair colour reads more natural; skin stain reads more graphic. When you over-process, you usually push both.
A few things then happen overnight:
- Oxidation deepens the tone. Many dyes develop and darken as they’re exposed to air, and the final shade can settle hours later.
- Skin stain looks stronger once redness fades. Right after removal, your brow area can be slightly pink from wiping and product contact. When that calms down, the tint can look more intense by comparison.
- Your brow hairs dry and lie flatter. Damp, fluffy hairs can look softer; dry hairs can look sharper and therefore darker.
So if you’re relying on the “just rinsed” mirror check, you’re checking at the most misleading moment.
The most common processing-time trap (and how it happens)
The classic scenario goes like this: you’ve tinted before, you vaguely remember it being “around ten minutes”, and you start the timer… late. Or you rinse one brow, see it’s lighter than expected, and let the other brow keep going “to catch up”.
The problem is that brow tints don’t develop in a neat, linear way. The last couple of minutes can do a lot of work, especially on porous hair, dehydrated ends, or areas where product sat thicker.
If any of these sound familiar, you’re in the danger zone:
- You start timing after you’ve finished both brows, not from first contact on the first brow.
- You “top up” patchy areas with more tint without resetting your plan.
- You cover brows with cling film or keep them very warm to “help it take”.
- You wait for the tint to look dark in the bowl or on the hair before rinsing.
A more reliable way to time it (so you don’t chase darkness)
The most calming fix is boring: treat timing like baking, not vibes. You want a repeatable method that doesn’t change depending on lighting, panic, or how close you are to being late.
The two-timer method that saves most people
- Apply to brow one and start a timer immediately. Yes, even though brow two isn’t done yet.
- Apply to brow two and start a second timer (or note the minute difference).
- Remove in stages. If your instructions say 5–8 minutes, wipe the first brow at, say, 5 minutes and check. You can always add time in 30–60 second increments, but you can’t un-cook it.
This feels fussy the first time. Then it feels like the only sane way to do it.
A quick reality check: thinner layer, shorter time
If you want softer brows, the lever to pull isn’t “leave it longer”. It’s use less product, apply it more precisely to hair rather than skin, and stay closer to the lower end of processing time.
A thick layer acts like a duvet: it keeps the dye wet and working, and it’s far more likely to stain the skin underneath.
If it’s already gone too dark: what actually helps in the first 24 hours
There’s a specific kind of regret that hits when you see your brows in daylight and realise they’ve hardened into a blocky shade. Before you attack them with something harsh, give it one day of gentle correction.
A few options that usually make a difference:
- Oil cleanse, slowly. Massage a cleansing oil or balm through brows for a full minute, then rinse. Repeat once. This can lift some skin stain without shredding your face.
- Shampoo the brows. A tiny amount of gentle shampoo (or brow cleanser) worked through the hairs can nudge excess dye off the hair surface.
- Exfoliate around, not on, the brow. If the skin stain is the issue, gentle exfoliation adjacent to the brow can soften the edges. Don’t scrub the brow area raw; it usually makes things look worse, not better.
Avoid the temptation to “fix” it by tinting again with a lighter shade. Layering tint on top of fresh tint is how people end up with brows that look like they’ve been Sharpied.
The small habits that prevent the whole drama next time
If you’re tinting at home, consistency beats heroics. The goal is to build a result you can predict, not to wrestle your brows into submission.
A few habits that keep the colour softer and more realistic:
- Patch test and strand test, even if you’ve tinted before. Skin and hair change.
- Map your shape with a thin barrier (petroleum jelly or a proper skin protector) so the tint grabs hair more than skin.
- Choose the shortest time that gives you the effect you want. You can always repeat in a week; you can’t un-oxidise overnight.
- Take a quick photo in natural light after removal. Bathroom lighting lies in a very confident way.
“We all have that moment where we think: one more minute won’t matter.”
With brow tint, it often matters the most.
| What went wrong | What to do next time | Why it works |
|---|---|---|
| You overran processing time “by a bit” | Use two timers and remove in stages | Prevents the last minutes tipping it too dark |
| Tint stained the skin heavily | Apply a thinner layer + barrier around brows | Less skin stain = softer, hair-like result |
| One brow developed faster | Wipe and check each brow separately | Brows aren’t identical; timing shouldn’t be either |
FAQ:
- Can eyebrow tint really oxidise darker overnight? Yes. Many tints deepen as they oxidise, and the skin stain can look stronger once the area settles and dries.
- Is it better to leave tint on longer if my brows are sparse? Usually no. For sparse areas, a precise application on hairs and a slightly deeper shade is safer than extending processing time, which often just stains skin.
- What’s the safest way to lighten brows that are too dark? Gentle oil cleansing and mild shampooing within the first day can help reduce surface dye and skin stain. Avoid harsh scrubbing or strong acids on freshly tinted skin.
- Should I start timing after I finish both brows? Ideally, no. Start timing from when tint first touches the first brow, then stagger removal or use two timers so both brows get the intended processing time.


Comments (0)
No comments yet. Be the first to comment!
Leave a Comment