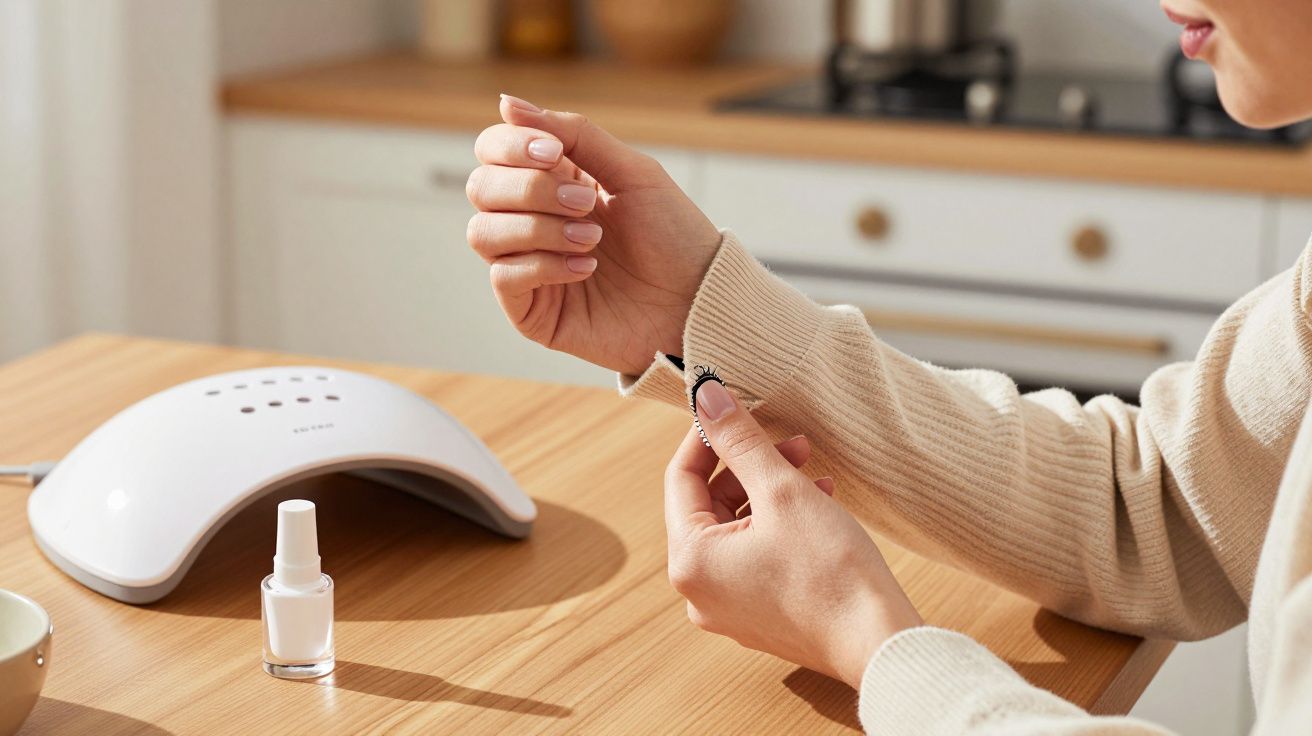
You can do nail art on your kitchen table, in a salon chair, or on the train with a tiny brush and a phone torch. But if you care about durability-how long your manicure stays glossy, chip-free, and attached-the trendiest designs can quietly work against you. The frustrating bit is you often won’t notice until day three, when the edges start catching on knitwear and you’re suddenly “between manicures” again.
It isn’t about talent or price, either. It’s about what you’re stacking on top of the nail plate, how it cures, and where the weak points get built in.
The trend: thick 3D nail art (and why it fails first)
The look is everywhere: raised bows, “jelly” charms, pearls, blobs of builder gel shaped like droplets, even mini sculpted flowers. It photographs like a dream because it creates shadow and dimension, and it makes a simple colour feel customised.
The same height that makes it cute also makes it vulnerable. The minute a design sits proud of the nail, it turns into a tiny lever. Every time you pull on jeans, open a can, or rub shampoo into your scalp, that lever takes knocks-and the impact travels straight to the top coat and the layers beneath.
You don’t always lose the charm first. Often, you lose the seal around it.
What’s really happening: your “seal” gets broken
A long-wearing manicure is basically a sealed system. Base coat adheres to the nail, colour layers sit evenly, and top coat wraps everything so water, oils, and friction can’t get underneath and lift it.
3D designs interrupt that seal in a few common ways:
- Micro-gaps form around raised pieces. Even if it looks flush, tiny channels can appear where top coat can’t fully wrap.
- Top coat thins over peaks. It slides off high points as it levels, leaving a skimpy layer that scuffs and cracks faster.
- The nail flexes but the charm doesn’t. Natural nails bend slightly; thick gel lumps and hard embellishments resist, so stress concentrates at the edges.
That’s why you’ll see the first failure as a hairline crack around the decoration, then a snag, then a peel. It’s not bad luck-it’s physics.
The biggest offender: “encapsulated” designs that aren’t truly encapsulated
There’s a popular salon promise: “We’ll encapsulate it, so it lasts.” True encapsulation means the art sits within a smooth protective layer, with the top coat fully wrapping and sealing.
What sometimes happens instead is “half encapsulation”: the charm is stuck on, then lightly glossed over. It feels smooth-ish, but the height still creates stress points and the edges are only partially protected. Add a hot shower and a bit of washing-up, and water does what it always does: finds the weakest seam.
If you’ve ever had a charm pop off cleanly while the rest of the nail stays intact, that’s adhesion. If the gel lifts with it, that’s a seal problem.
A quick self-check: will this design shorten wear time?
Before you commit (or before you book the refill), look for these tells:
- You can feel a ridge where the top coat meets the 3D piece.
- The design sits close to the free edge (the tip) where you get the most knocks.
- The nail is long and flexible, but the art is thick and rigid.
- The tech used a fast glue-on method rather than building a smooth apex and then sealing.
None of these mean “don’t do it.” They mean “expect fewer days” unless you adjust the plan.
How to keep the look without sacrificing durability
You don’t have to abandon dimension; you just need to make it work like a sealed system again.
Ask for lower-profile options
Swap tall charms for flatter details: chrome outlines, 3D gel lines kept shallow, or “sugar” textures sealed with an extra top coat. You still get depth, but less lever action.
Place art away from stress zones
Keep raised pieces centred, not right at the tip or sidewalls. Those edges are where lifting starts, and where gloves, pockets, and hair ties catch first.
Go for true encapsulation (and a proper finish)
If you want gems or chunky gel, the strongest version usually includes:
- Building the structure (often with builder gel) so the nail can take impact.
- Placing the art and then fully overlaying it with a protective layer.
- Refining the surface so the top coat can wrap smoothly without thin spots.
It takes longer in the chair, but it buys you wear time.
Adjust your expectations (and your aftercare)
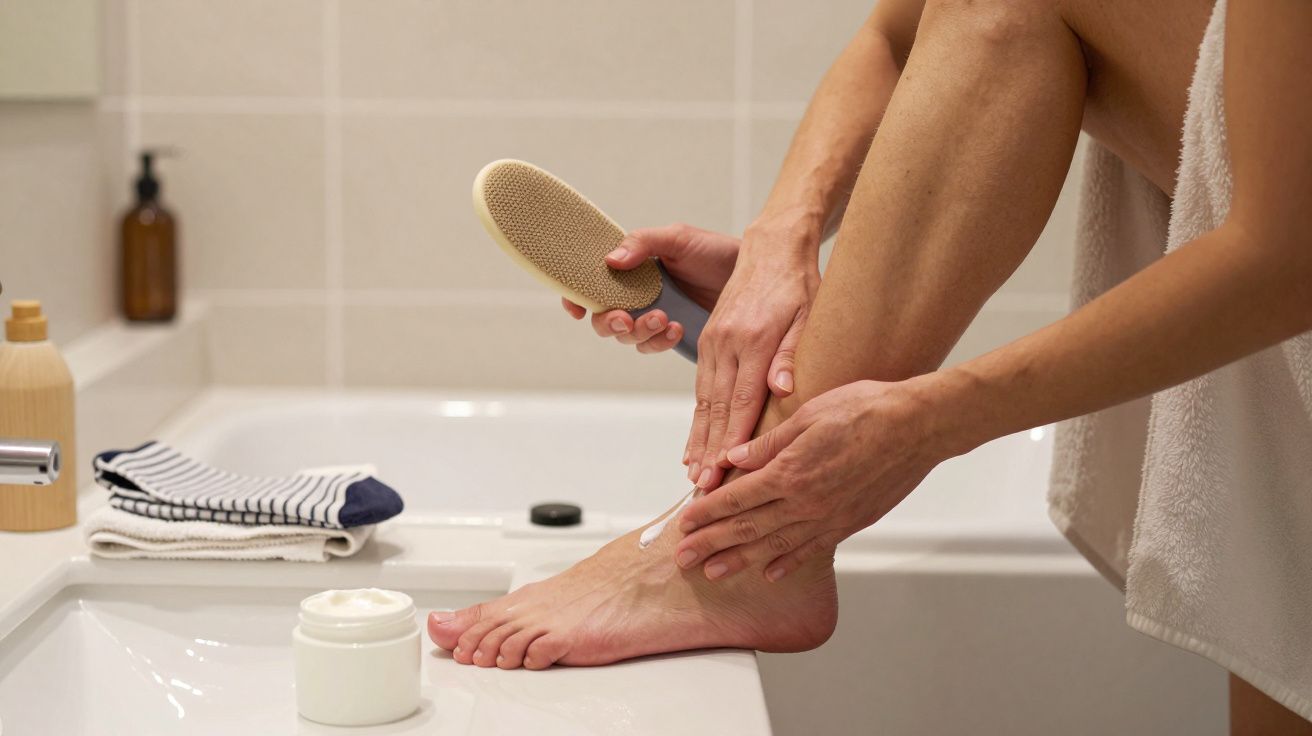
If you choose maximal 3D, treat it like a shorter-wear set. Use gloves for cleaning, avoid using nails as tools, and apply cuticle oil-but wipe the nail surface if you’re prone to over-oiling, as slick nails + snagging = lifting.
The quiet trade-off: statement nail art vs. everyday hands
There’s a reason the most durable sets often look deceptively simple: smooth surfaces seal well, and flat designs don’t snag. Trend-led 3D nail art can absolutely be worth it for a weekend, an event, or when you want that dopamine hit every time you glance down.
Just don’t let the photos convince you it’s a free upgrade. Height is gorgeous, but it comes with a cost-and the cost is often durability.
FAQ:
- Will a thicker top coat make 3D nail art last longer? Sometimes, but only if it actually seals the edges and doesn’t thin over peaks. A single thick layer can still pull away from high points as it levels.
- Are gel charms more durable than glued-on gems? Usually, yes-if they’re properly bonded and sealed. Glued-on pieces tend to pop off when knocked or exposed to oils and hot water.
- Does shorter nail length help? Yes. Shorter nails flex less and take fewer tip impacts, which reduces stress around raised designs.
- What’s the longest-wearing “textured” look? Low-profile texture (fine glitter, subtle gel ripples, chrome lines) tends to outlast tall embellishments because it keeps the surface sealed and snag-free.


Comments (0)
No comments yet. Be the first to comment!
Leave a Comment