You can do all the right base steps and still lose make-up longevity by lunchtime, especially in the T‑zone, around the nose, and anywhere a mask, scarf, or hand tends to land. The problem is rarely your foundation alone; it’s the setting techniques you use to lock it in without turning your skin into a dry, obvious layer. The setting step that actually works is less about “more product” and more about where and when you set.
It feels like a small detail until you catch your reflection on a commute home and realise your make-up has moved in neat little maps: a shiny forehead, a broken-up chin, cheeks that look fine, and concealer that’s creased itself into a new personality.
The step people skip: set in two passes, not one
Most of us treat setting as a finale. Powder goes on at the end, everywhere, in the hope it behaves like a sealant. That’s the trap. A single, heavy pass tends to sit on top of still-soft base products, and then it breaks apart as your skin warms up and produces oil underneath.
The fix is a two-pass set: a targeted set early for the areas that crease and slip, then a light finish later to unify. It’s the make-up equivalent of tightening bolts before you drive off, rather than rattling down the road and hoping things hold.
Why this works (and why “more powder” doesn’t)
Think of your base as layers with different jobs. Your moisturiser and SPF are about comfort and protection; your foundation is about coverage and tone; your concealer is about precision. Setting should respect that hierarchy.
When you powder too late and too broadly, you’re asking one layer to do everything: stop creasing, stop shine, stop transfer, and keep texture invisible. Let’s be honest: nobody really does that every day. Not without it looking like make-up.
Two-pass setting works because you anchor the high-movement zones while they’re fresh, then you let the rest stay a bit more flexible. Flexibility is what keeps skin looking like skin at hour eight.
The method: “press, rest, finish”
You don’t need a new primer or a different foundation to try this. You need five minutes, a small brush or puff, and the discipline to leave your face alone while products settle.
Pass 1: press powder exactly where it creases
Do this after concealer, before you’ve powdered the rest of the face.
- Apply concealer and blend as usual.
- Wait 30–60 seconds. Let it thicken slightly on the skin.
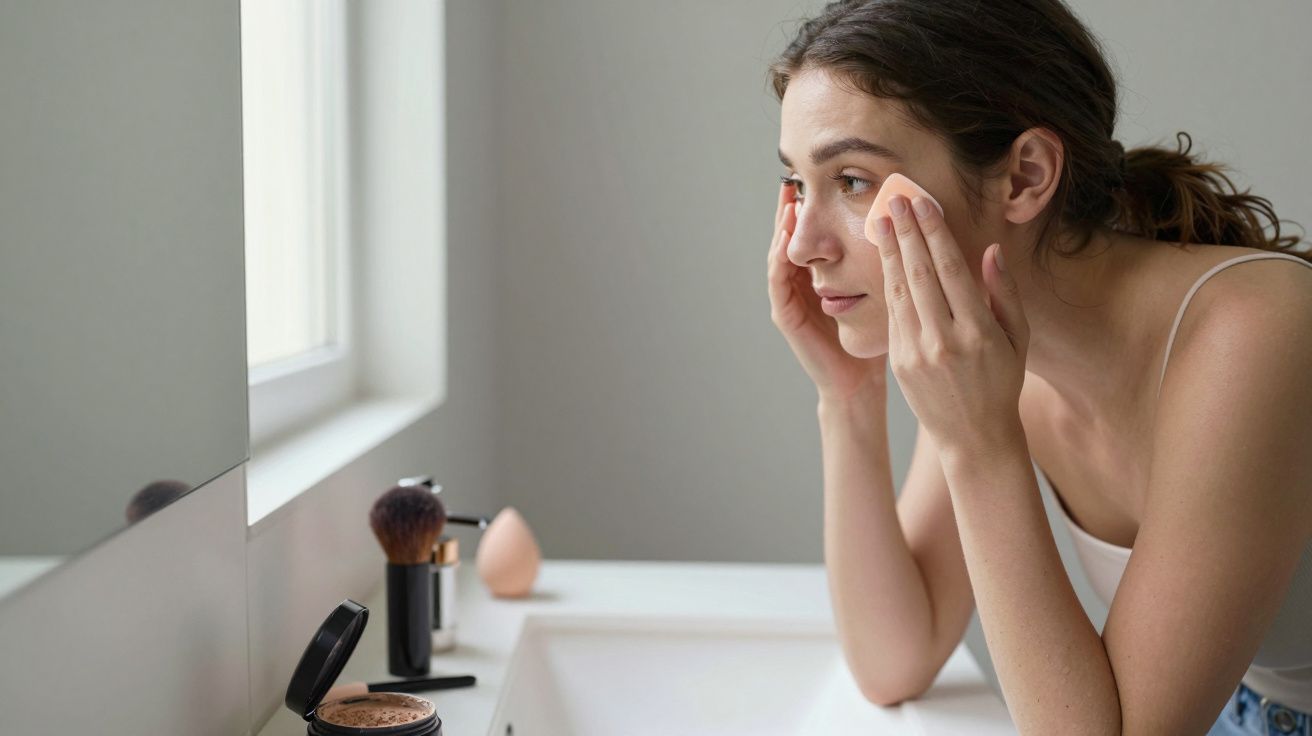
- Using a small puff or a dense brush, press a tiny amount of finely milled loose powder into:
- under-eyes (only the crease line, not the whole cheek)
- sides of the nose
- smile lines (if you know they break up)
- centre of the forehead (if you go shiny there first)
Pressing matters because it seats powder into the product beneath, rather than sweeping it around and lifting coverage. You’re not trying to look matte; you’re trying to build grip.
Rest: give it a minute to “set itself”
This is the unglamorous bit that changes everything. Don’t add bronzer. Don’t start blending blush over tacky base. Let the powdered areas sit while you do brows, mascara, or lips.
That short pause gives your base time to marry with your skincare and stops you from dragging cream products across still-moving foundation.
Pass 2: finish with a light veil where you get oily (not everywhere)
Now set the rest, but keep it controlled. Use a fluffy brush and a small amount of powder, tapping off the excess first.
Aim for the zones that usually go first: the centre of the face and the lower chin. Leave the high points of the cheeks alone if they don’t get shiny; you want dimension, not uniform flatness.
If you love setting spray, this is where it helps most: a light mist after powder to take down any dry look and fuse layers. The goal isn’t to soak your face; it’s to take the edge off.
Common pitfalls that make setting fail
These are the small habits that quietly undo the whole thing.
- Powdering damp concealer immediately. It grabs and cakes, then creases anyway.
- Using a big brush under the eyes. It spreads powder too far and emphasises texture.
- Setting the whole face as if every zone behaves the same. Cheeks often don’t need what your nose does.
- Rubbing setting spray in with hands. You lift base and create patchiness exactly where you wanted longevity.
If your make-up still slides, look at the first layer: overly rich moisturiser, oily SPF, or too much primer can make any set feel temporary. Balance starts at skincare.
Quick examples: match the set to your day
This is where it gets practical, because your “all-day” isn’t the same as someone else’s.
- Office day + commute: two-pass set, plus a final mist. Prioritise nose and under-eyes.
- Event photos + hugging people: add a touch more pressed powder around mouth and chin, then leave cheeks more natural.
- Oily T‑zone: keep Pass 1 tight, but don’t be shy on the sides of the nose. That’s where slip starts.
- Dry skin: still do Pass 1, just use less powder and finish with spray. Longevity and dryness aren’t the same thing.
A compact checklist you can screenshot
- Set creasing zones early with a press.
- Rest for a minute while you do another step.
- Lightly veil only the areas that actually get oily.
- Mist at the end to re-melt the finish (optional, but helpful).
You don’t need a new face. You need a smarter order.
FAQ:
- Do I need loose powder for this to work? Loose powder is easiest because it’s finely milled and presses in well, but a good pressed powder can work if you use a puff and keep the amount minimal.
- Will this stop transfer onto clothes and masks? It improves it, especially around the nose and mouth, but nothing makes make-up fully transfer-proof. Thin layers and targeted setting reduce movement the most.
- What if I only want to powder once? Do one pass, but make it the “press” pass on the crease-and-slip areas. A single, heavy all-over sweep is the version that tends to fail.
- Can I still use cream bronzer and blush? Yes. Apply creams after the rest phase and before Pass 2, or keep creams to the cheeks and avoid dragging them through the set zones.


Comments (0)
No comments yet. Be the first to comment!
Leave a Comment