The bathroom light was forgiving, and the spray tan looked like it had been airbrushed on. Then I stepped outside, caught in honest daylight, and the truth showed up fast: application consistency wasn’t there, and my legs told on me in streaks. If you’ve ever tanned at home before an event, you know why this matters - the mirror can lie, but the sun won’t.
It wasn’t a disaster in the dramatic sense. More like a quiet, creeping wrongness: darker lines around ankles, a patchy fade on shins, and that tell-tale “I did this myself” gradient near the wrists.
Indoor lighting is a flattering filter - daylight is the test
Most of us apply tan under warm bulbs, at night, in a rush between showering and getting dressed. Those lights blur edges and soften contrast, so uneven patches don’t look uneven - they look “glowy”. By morning, or by the first time you walk past a window, the depth of colour settles and the high spots go darker.
There’s also the angle problem. Overhead bathroom lighting hides what side light reveals: the lines left by quick swipes, the missed strip behind a calf, the area you “blended” but didn’t actually blend. You don’t see it until the sun hits you from the side and suddenly your tan has a map.
Why streaks happen (and why they’re rarely random)
Streaking usually isn’t about the product being “bad”. It’s about how it lands, how it dries, and how evenly you moved it before it set.
A few repeat offenders show up again and again:
- Dry patches grabbing extra colour (knees, ankles, knuckles, elbows), even when the rest is fine.
- Too much product in one pass, then panic blending that drags pigment into lines.
- Uneven pressure with a mitt, especially on curved areas like calves and forearms.
- Rushing the last 10% - feet, hands, backs of legs - where most of the evidence lives.
Think of it like painting a wall. One heavy roller stroke and a few “fixes” over half-dry paint will always show when the light changes.
The consistency fix: make the process boring on purpose
The goal isn’t to be perfect; it’s to be repeatable. When your steps are consistent, the finish looks consistent - and you stop getting surprised by daylight.
Here’s a routine that keeps things even without turning your bathroom into a lab:
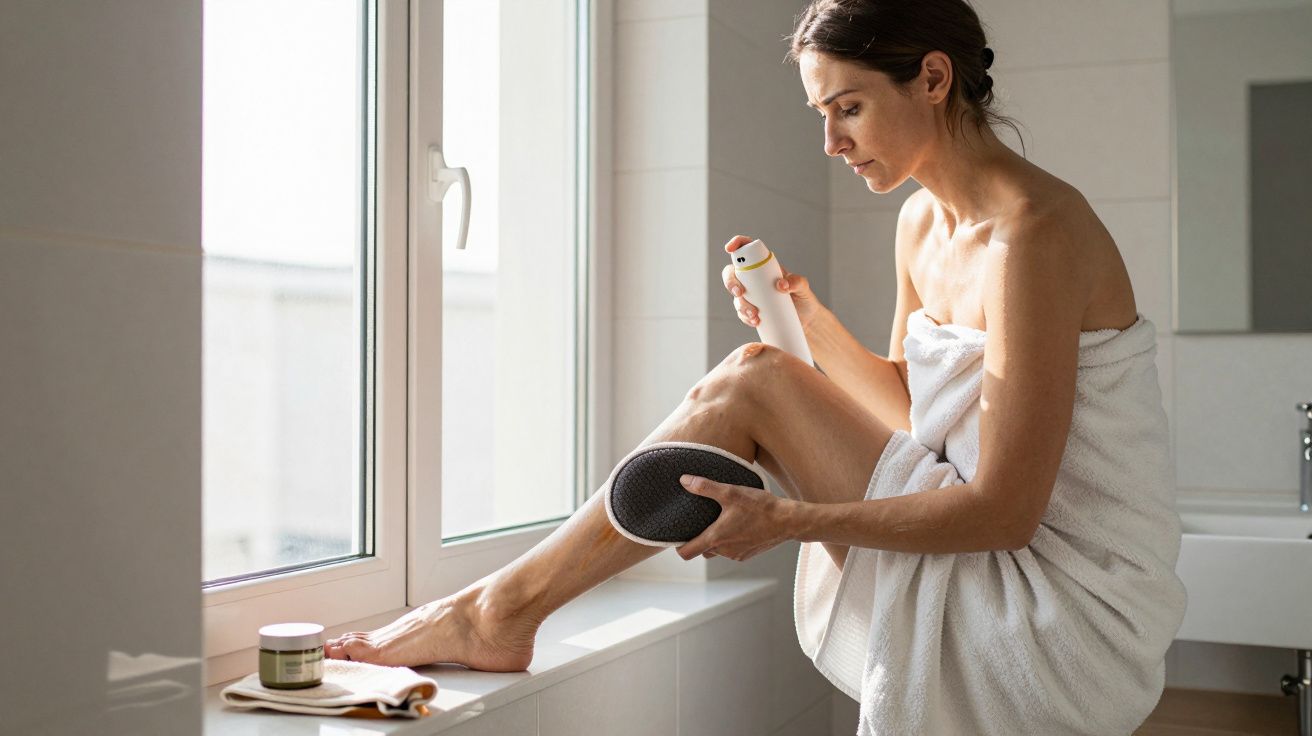
- Prep with restraint. Exfoliate the day before, not ten minutes before. Right before tanning, just rinse and dry fully; don’t scrub yourself raw.
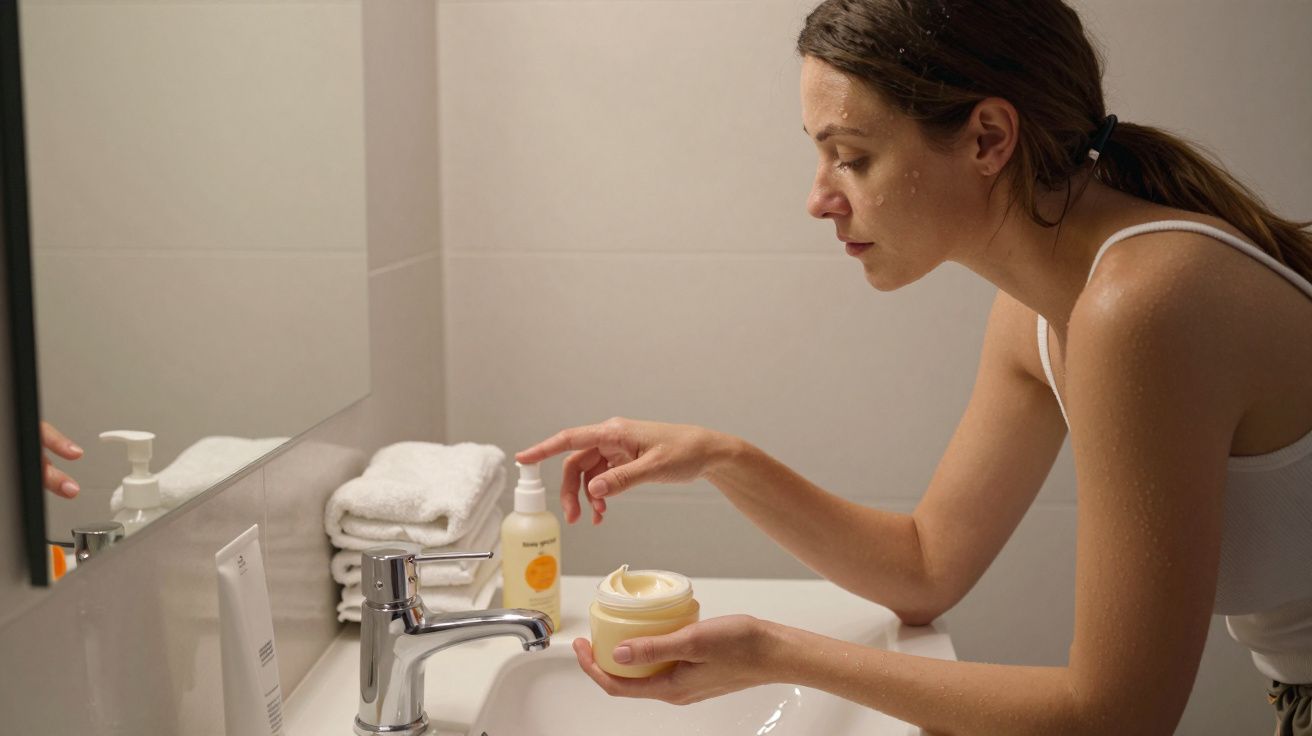
- Moisturise the “grabby” zones only. A thin layer on ankles, knees, elbows, wrists, and knuckles. Let it sink in for 5–10 minutes.
- Work in sections and count your passes. One pump (or one small blob) per area: upper leg, lower leg, each arm, torso. You’re creating a rhythm, not guessing.
- Use long strokes, then one light cross-blend. Long strokes down the limb, then a gentle sweep across to blur edges. Don’t keep “polishing” once it starts to tack.
- Finish hands and feet with leftovers. Whatever is left on the mitt after legs/arms is usually enough. Add product only if you truly need it.
If you want a simple check: stand by a window for thirty seconds before you sleep. Side light now is kinder than side light tomorrow in a sleeveless outfit.
“Most streaks are just drying lines. The trick is to stop moving product once it’s starting to set.” - a salon therapist told me, after fixing my ankles without judgement
If daylight already exposed it: quick triage, not a full redo
When you spot streaks, the instinct is to layer more tan and hope it evens out. That can work, but only if you smooth the texture first. Otherwise you’re just darkening the same lines.
Try this in order:
- For harsh lines on legs/arms: a warm shower, then a gentle exfoliating glove over the streak (not the whole limb), followed by moisturiser. Reapply a tiny amount to that area only.
- For dark ankles, knees, wrists: soak the area for a minute, then buff lightly and moisturise. If you reapply, do it with residue from the mitt, not fresh product.
- For patchy, dotted areas (often from dry skin): moisturise heavily for a day and let the tan soften before you attempt to “correct” it.
And if you’re hours from leaving the house, remember: strategic clothing and a calm attitude are sometimes the most efficient tools in the kit.
A tiny habit that prevents the whole problem next time
Do one thing differently: stop applying tan under “final” lighting. Apply under your normal bathroom light, but inspect under daylight before it develops fully.
It’s not about perfection. It’s about catching the obvious misses while you can still move the product, before it locks into place and becomes a pattern you have to wear.
| What daylight revealed | Likely cause | Next-time tweak |
|---|---|---|
| Streaks down calves | Uneven pressure / over-blending | Long strokes + one cross-blend, then stop |
| Dark ankles and knees | Dry skin grabbing colour | Moisturise those spots first, go lighter |
| Patchy forearms | Too much product / fast drying | Smaller amounts, section-by-section rhythm |
FAQ:
- Will a second coat fix streaks? Sometimes, but only if the skin is smooth. Buff the streak lightly and moisturise first; otherwise you’ll deepen the same lines.
- Why did it look fine at night? Warm indoor bulbs reduce contrast. Daylight (especially from the side) makes uneven pigment and drying lines stand out.
- Do I need a different product to stop streaking? Not usually. Most improvements come from application consistency: measured amounts, steady pressure, and not overworking tacky areas.
- What’s the safest way to tan hands and feet? Use what’s left on the mitt after arms and legs, then blend over knuckles and around ankles with a clean, slightly damp cloth if needed.


Comments (0)
No comments yet. Be the first to comment!
Leave a Comment