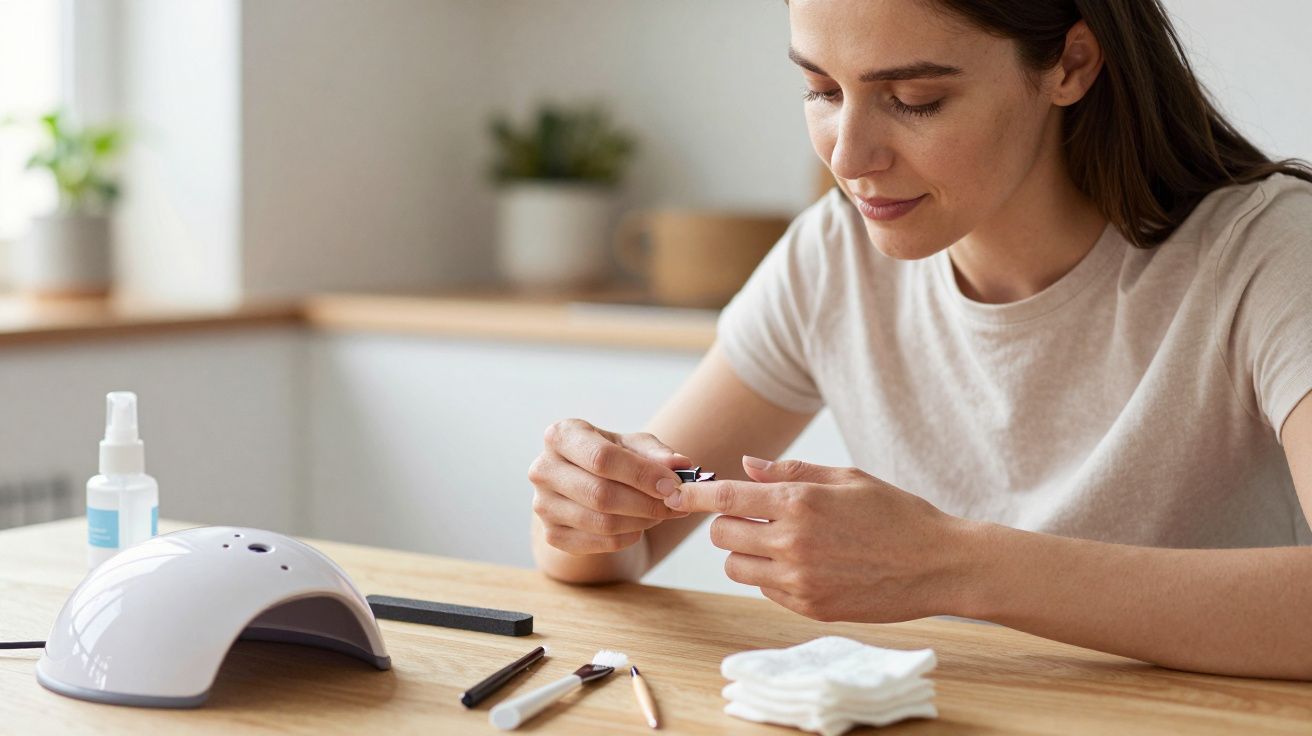
In salons and at-home kits, gel nails feel like the “safe bet”: glossy, hard-wearing, and meant to last. Yet when lifting shows up after a few days, most people blame the bottle - not nail preparation. The frustrating bit is that the product is often fine; it’s one quiet prep step that fails, and the gel simply can’t hold on.
I started noticing the pattern in the same place every time: not the free edge, not the sidewalls, but that clean-looking shine near the cuticle that everyone leaves “because it looks neat”. It looks neat, and it behaves like a barrier.
The hidden culprit: the invisible cuticle (and the film you can’t see)
“Cuticle” isn’t just the skin you can push back. On the nail plate itself, there’s often a thin, transparent layer of dead tissue (the invisible cuticle) that creeps forward as the nail grows. It can be so fine you won’t spot it under room lighting, but gel will.
Gel nails adhere best to a clean, lightly textured nail plate. If there’s a film in the way - invisible cuticle, residual hand cream, soap, cuticle oil, even a bit of dust compacted smooth - your base coat is bonding to that layer, not to the nail. When that layer shifts, your gel lifts with it.
The gel doesn’t “fail”. It does exactly what it’s allowed to do: stick to the top-most surface.
How early lifting usually starts
It tends to show up as:
- A slight halo lift around the cuticle line within 48–72 hours
- Tiny “snags” you can catch with hair or fabric
- Lifting on one or two nails only (often the hands you moisturise more, or the nails you touch your face with)
If you’ve ever had a set where the tips stayed solid but the cuticle area popped first, you’ve basically seen the invisible cuticle problem in action.
What to do instead: prep like you’re removing a coating, not “tidying”
The goal isn’t aggressive filing. It’s thorough, deliberate cleaning of the nail plate and the perimeter where gel needs to seal.
A simple sequence that works for most gel nails (salon or home):
- Push back the proximal nail fold gently, so you can access the nail plate right up to the edge.
- Remove the invisible cuticle with a cuticle remover + pusher, or a fine e-file bit if you’re trained. You’re aiming for a squeaky-clean nail plate, not redness.
- Lightly etch the surface with a fine buffer (think: remove shine, don’t thin the nail).
- Dust properly, especially around sidewalls and cuticle. Dust left behind can become a weak, chalky layer.
- Dehydrate and cleanse (90%+ isopropyl alcohol or a dedicated cleanser/dehydrator). Then don’t touch the nail again.
- Apply primer/bond (if your system uses one) sparingly, keeping it off the skin. More isn’t stronger.
If you do only one upgrade: spend longer on step 2 than you think you need. It’s the step most people rush because the nail “already looks clean”.
A quick self-check: the “water break” clue
After cleansing, look at the bare nail under a direct light. If it still has patches that look slightly slick or unevenly reflective, you may still have film on the plate.
Another clue appears earlier, at the sink: if water beads on the nail in smooth little droplets rather than spreading, the surface is still acting like it has a coating. That coating might be oil - or it might be invisible cuticle.
Common mistakes (and the kinder fixes)
Some lifting problems are created by good intentions.
- Over-buffing near the cuticle: it can create heat and micro-damage, leading to peeling and weaker retention later.
- Fix: use a finer grit and lighter pressure; focus on removing shine evenly, not “scrubbing”.
- Fix: use a finer grit and lighter pressure; focus on removing shine evenly, not “scrubbing”.
- Cuticle oil right before gel: even if you wipe, it can linger in the skin groove and migrate.
- Fix: oil after the set, not before. If you must soften cuticle, wash and dehydrate thoroughly afterwards.
- Fix: oil after the set, not before. If you must soften cuticle, wash and dehydrate thoroughly afterwards.
- Product on skin: gel floods into the cuticle line, cures touching skin, then lifts as the skin moves.
- Fix: leave a hairline gap; use a smaller brush and work in thin layers.
- Fix: leave a hairline gap; use a smaller brush and work in thin layers.
- “Dry” prep that isn’t actually clean: dust, remover residue, or a too-gentle cleanse.
- Fix: dust, then cleanse; don’t swap the order.
Example: why only two nails lift every time
Say your thumbs lift first, every set, no matter the brand. You type, scroll, open cans, apply skincare, and your thumbs do the most contact with oils and friction. If your nail preparation is “pretty good” but you’re not removing invisible cuticle consistently, those higher-stress nails expose the weak link fast.
That’s why changing base coat can feel like it “works” for a week - until the same prep gap catches up again.
A compact retention checklist to keep by your lamp
- Cuticle pushed back enough to expose the full nail plate perimeter
- Invisible cuticle removed (not just softened)
- Shine removed evenly, especially near the cuticle
- Dust removed from sidewalls and the cuticle pocket
- Dehydrated/cleansed and not touched afterwards
- Thin application, no flooding, cap the free edge if your system requires it
If you do all of that and lifting still happens, then yes: look at lamp power, cure times, product compatibility, and your natural nail condition. But most of the time, the fix is earlier and quieter than people expect.
FAQ:
- Why do my gel nails lift at the cuticle but stay stuck at the tips? The cuticle area is where invisible cuticle and skin oils are most likely to remain, and where product flooding happens. The tips can be perfectly bonded while the cuticle line fails first.
- Do I need an acid primer to stop lifting? Not necessarily. Many systems retain well with good nail preparation and a compatible base. Primer can help, but it won’t bond through leftover film.
- Is using a cuticle remover enough on its own? It helps, but you still need to mechanically remove the loosened invisible cuticle (gently) and cleanse/dehydrate afterwards so nothing is left behind.
- Can I use acetone to cleanse before gel? It can remove oils, but it can also dehydrate unevenly and leave residue depending on additives. Isopropyl alcohol or a dedicated cleanser is usually more consistent for prep.
- How close should I paint to the cuticle? Close, but not touching. Leaving a tiny margin prevents cured gel from bonding to skin, which is one of the quickest routes to early lifting.


Comments (0)
No comments yet. Be the first to comment!
Leave a Comment