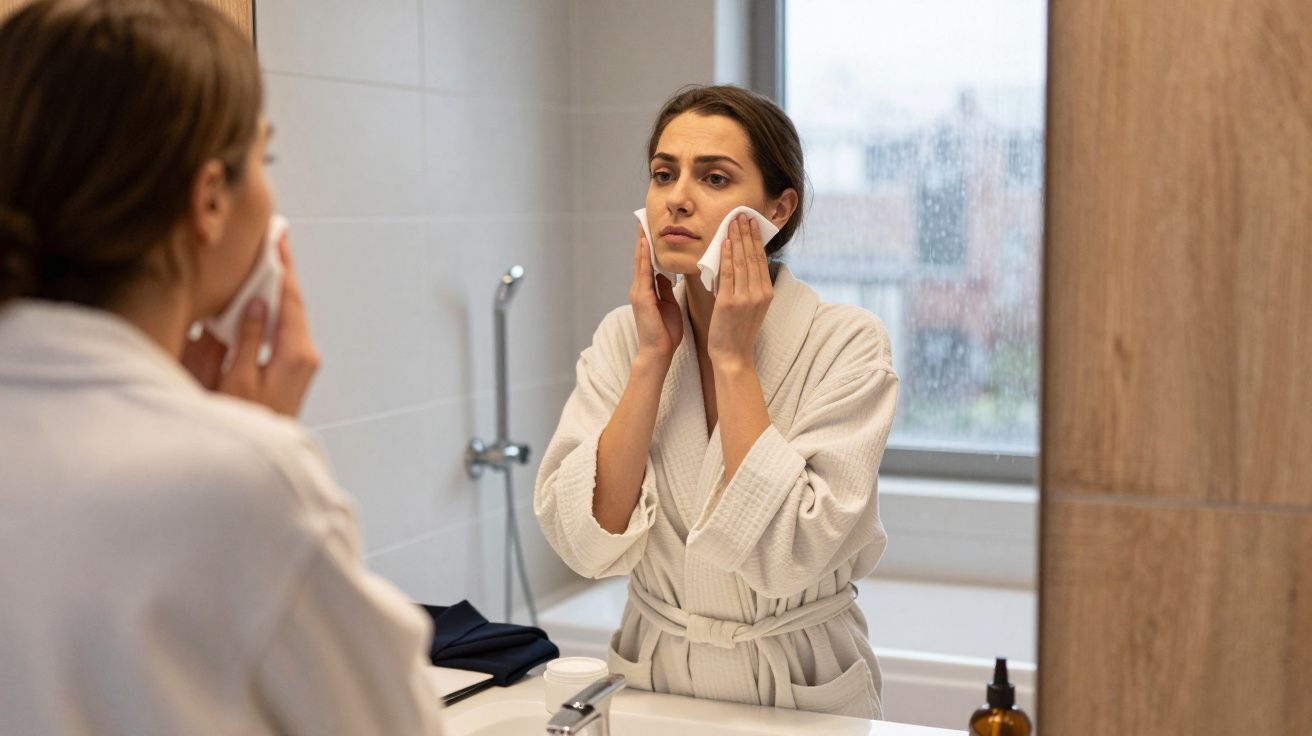
At 7:40 on a rainy Tuesday, I watched a candidate in a café window practise answers with a flat white and a tight jaw. She wasn’t chasing a new face-just a calmer one. Facial treatments are often used in the week before interviews to smooth texture, reduce redness and help you project a professional appearance under harsh office lighting.
The trick is choosing something that looks better tomorrow, not “different” today. A good pre-interview plan is less about trends and more about timing, skin type, and avoiding the kind of surprise that shows up on a webcam in HD.
The rule people forget: your skin needs a runway
The biggest mistake is booking the most intense treatment as close as possible to the interview. Many procedures have a “glow window” after an initial phase of redness, dryness, or purging. What looks impressive in a clinic brochure can look irritated in real life for 48–96 hours.
Treat the interview like an event with lighting, stress and time pressure: pick the option with the most predictable recovery.
A simple way to think about it is to match the treatment to your timeline, not your ambition.
Best facial treatments by timeframe
7–10 days out: the safest “polish” zone
If you have a week or more, you can do treatments that subtly reset tone and texture without gambling on irritation.
- Professional hydrating facial (no aggressive extractions): Great for dehydration lines and dullness. Ask for a barrier-focused approach (gentle cleanse, hydration, soothing mask).
- Enzyme exfoliation (not a deep peel): Helps brightness with less risk than strong acids. Ideal if you’re prone to redness.
- LED light therapy (clinic-grade): Often used to calm inflammation and support healing. Low drama, low downtime.
If you’re acne-prone, tell the therapist what “calm” looks like for your skin. A well-meaning extraction session can leave marks that last longer than your prep window.
3–5 days out: targeted and cautious
This is where you want visible benefits with minimal recovery, and you should be stricter about patch-testing and aftercare.
- Mild chemical peel (light lactic/mandelic, low strength): Can improve glow and makeup wear, but only if you’ve tolerated acids before.
- Microcurrent facial: Temporary lift and reduced puffiness; useful for photos and first impressions.
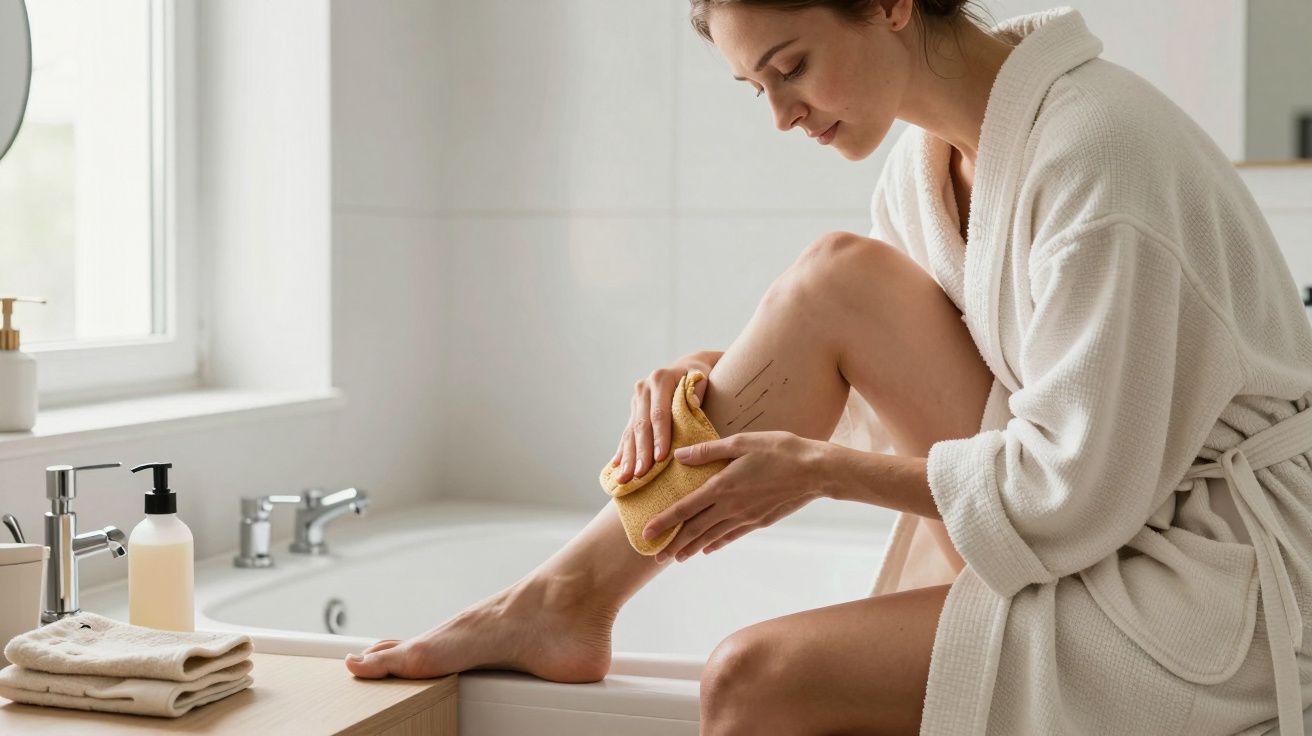
- Dermaplaning (with a trained professional): Smooths surface texture and can help foundation sit better. Avoid if you’re actively inflamed or very sensitive.
If you’ve never had the treatment before, this is not the moment to “see how it goes”. Familiar, repeatable results beat novelty.
24–48 hours out: calm, don’t chase
The final two days are about reducing swelling, redness and stress signals. Think soothing, not corrective.
- Soothing facial with barrier repair (no exfoliation): Ceramides, oat, hyaluronic acid-keep it boring in the best way.
- Lymphatic drainage massage (gentle): Helps puffiness, especially if you retain fluid when anxious or short on sleep.
- Professional sheet mask / hydration boost: Useful if you’re dry or travelling, but avoid heavily fragranced products.
Skip strong actives, heavy extractions, and anything described as “stimulating” if you flush easily.
What to avoid (even if the deal is tempting)
Some treatments are brilliant-just not right before a high-stakes meeting. They can create short-term inflammation that clashes with a professional appearance, especially under bright office LEDs.
- New-to-you peels or devices within a week (your skin’s reaction is unknown).
- Deep extractions within 3–5 days (risk of marks and swelling).
- Microneedling, strong peels, resurfacing lasers within 2–3 weeks unless you’ve done them repeatedly and know your recovery.
- At-home “power” masks the night before (tingling is not a guarantee of improvement).
A simple plan that works for most people
If you want one reliable approach, aim for this: one gentle professional treatment, then calm maintenance.
- 7–10 days before: Hydrating facial or LED session, plus a simple home routine.
- 3 days before: Focus on sleep, hydration, and a bland moisturiser; stop experimenting.
- Night before: Cleanse, moisturise, and leave it alone.
- Morning of: Cool compress for puffiness, light moisturiser, sunscreen if appropriate.
Your skin reads stress faster than it reads skincare. The fastest “treatment” is often an early night and fewer last-minute variables.
Mini checklist for interview-day skin (especially on camera)
- Keep shine controlled (blotting paper beats piling on powder).
- Use non-flashy SPF if you’ll be photographed; avoid heavy flashback formulas.
- If you flush, choose lukewarm water and avoid hot showers right before you leave.
- Bring a basic moisturiser for dry patches rather than reapplying foundation.
Timing guide (quick reference)
| Treatment | Best timing | Typical risk |
|---|---|---|
| Hydrating/soothing facial | 2–10 days | Low |
| Mild peel (experienced users) | 5–10 days | Medium |
| Extractions-heavy facial | 7–14 days | Medium–High |
FAQ:
- What’s the single best facial treatment before an interview? For most people, a gentle hydrating facial with soothing products 7–10 days beforehand gives the most predictable improvement without visible downtime.
- Can I do a facial the day before? You can, but keep it calming and non-exfoliating. Avoid extractions and strong acids so you don’t risk redness or swelling.
- Will dermaplaning make hair grow back thicker? No. It removes vellus hair and dead skin at the surface; regrowth isn’t thicker, but timing matters because some people get sensitivity or small breakouts.
- How do I reduce puffiness fast on the morning? Use a cool compress for a few minutes, keep salt and alcohol low the night before, and consider a gentle lymphatic massage rather than harsh rubbing.


Comments (0)
No comments yet. Be the first to comment!
Leave a Comment